Category Archives: Recipes

Fritter Frenzy!

By | Recipes | One Comment

Despite the squash bug invasion I’ve been fighting in my garden this summer, my plants are still producing a lot of squash. We put it in squash gratin, we’ve grilled it, we’ve baked it and we’ve added it to soup. Aaaannnnddd, there’s still more squash. (Yay?) Thankfully, my friend Danielle came to our rescue and shared a great Mario Batali recipe for squash fritters with me.

They were AWESOME.

I didn’t actually know what a fritter was before making this but I would compare it to potato latkes. Basically, shredded veggies with cheese, eggs and a little flour.

Since according to my sister Laura, I am unable to follow a recipe without adding my own twist, I changed Mr. Batali’s recipe as well. This is mainly because I didn’t have all the ingredients in the original recipe. I actually think that fits his style of cooking. After all, “necessity is the mother of invention” right? I have squash. Lots of squash. I needed a new recipe, even if I didn’t have all the ingredients. So there.

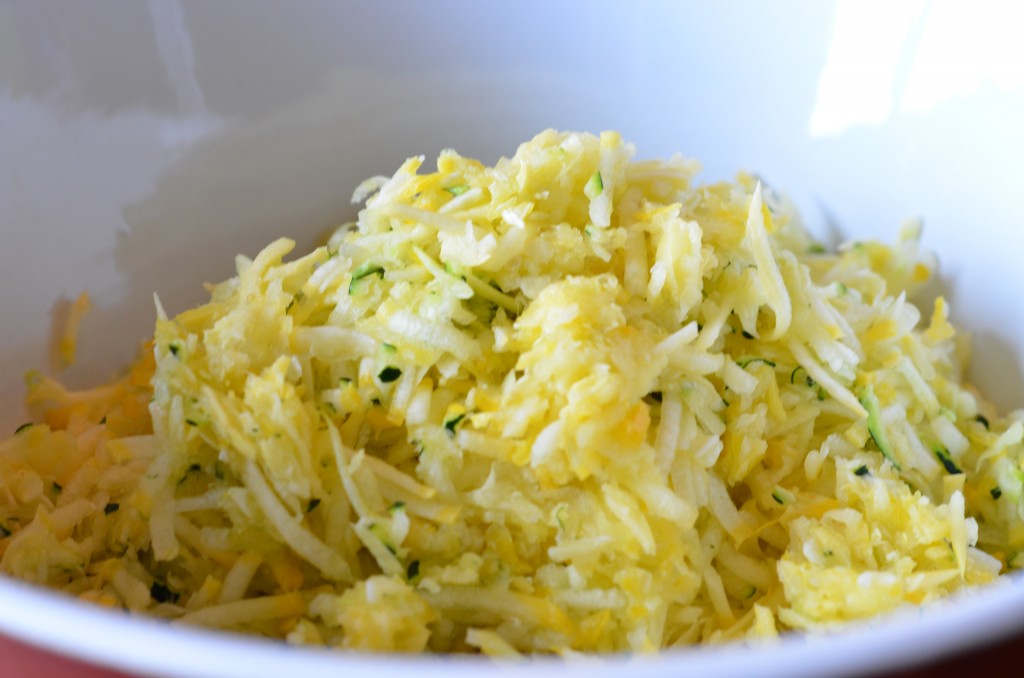
I started with 3 shredded squash – crookneck and zucchini. (More than the recipe called for ’cause I have a lot of squash!)

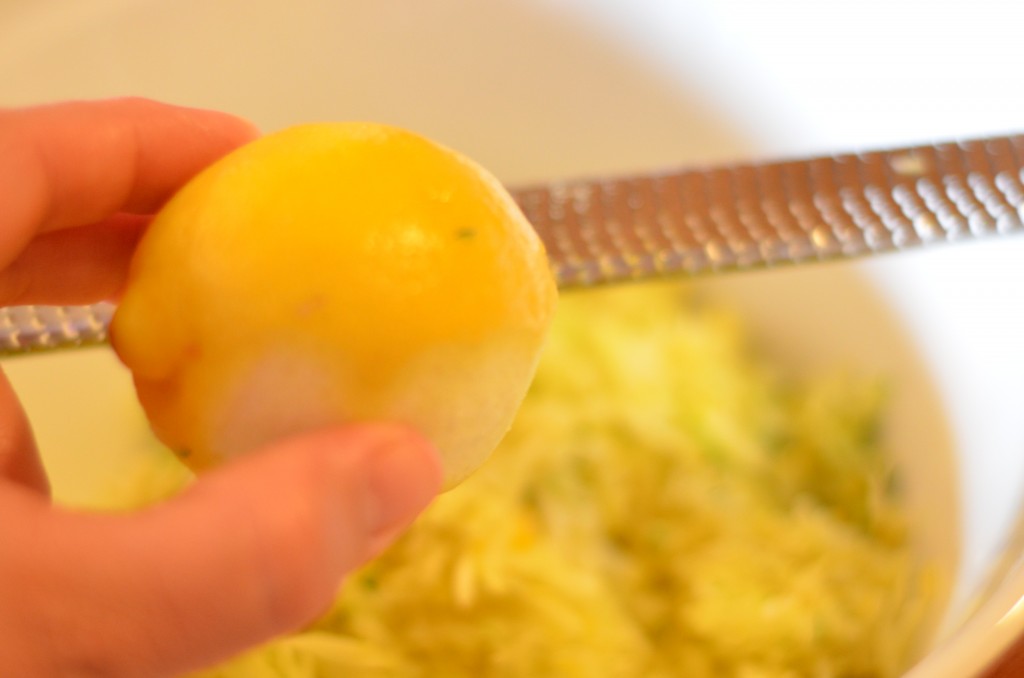
I added lemon zest till I thought I had enough – about half a small lemon.

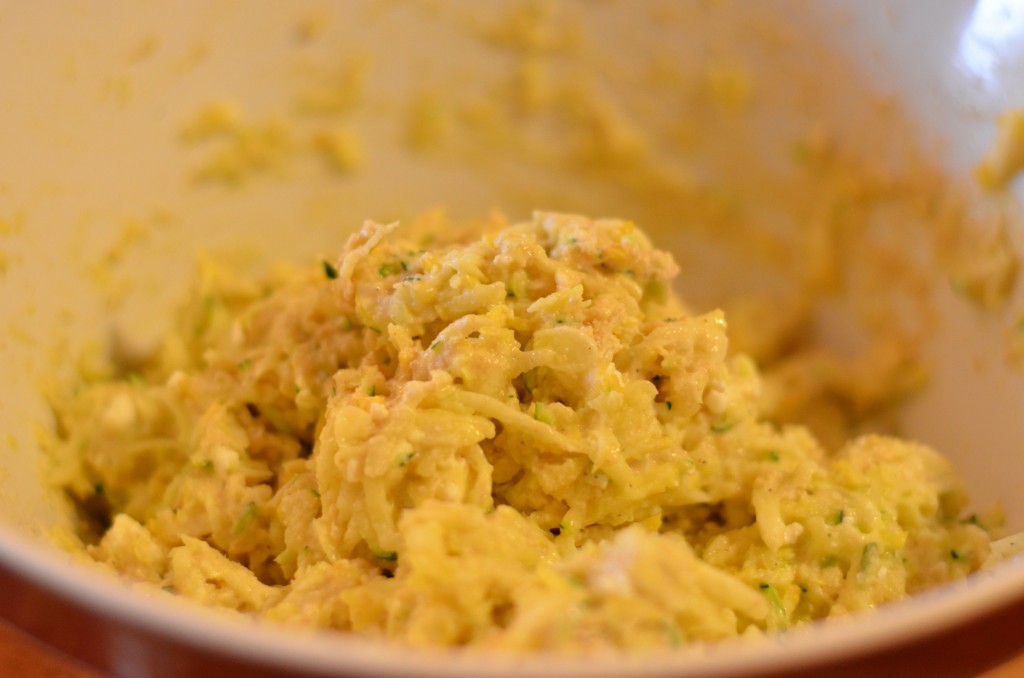
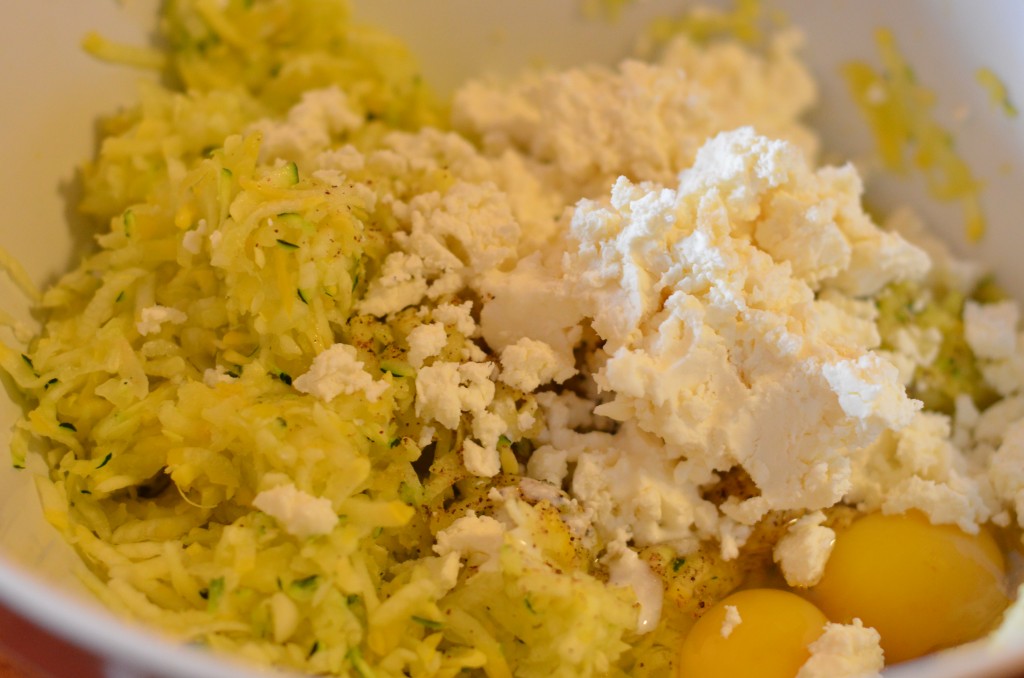
Then, I added 2 eggs, garlic and about 1/2 c. sheep feta since I didn’t have ricotta. No biggie!

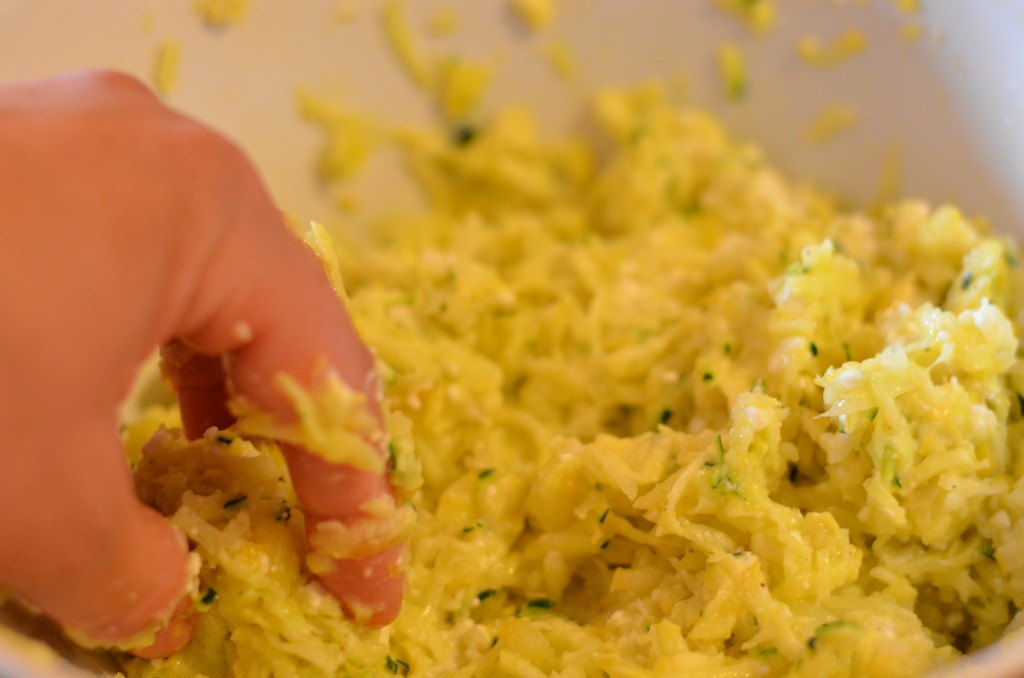
I added sea salt and pepper to taste and squished it together! If you usually don’t touch your food, you should. It makes it taste better. Really!

In went 1 cup or so of flour, which I gently stirred into the mix. A little fresh chive would have been a delicious addition.

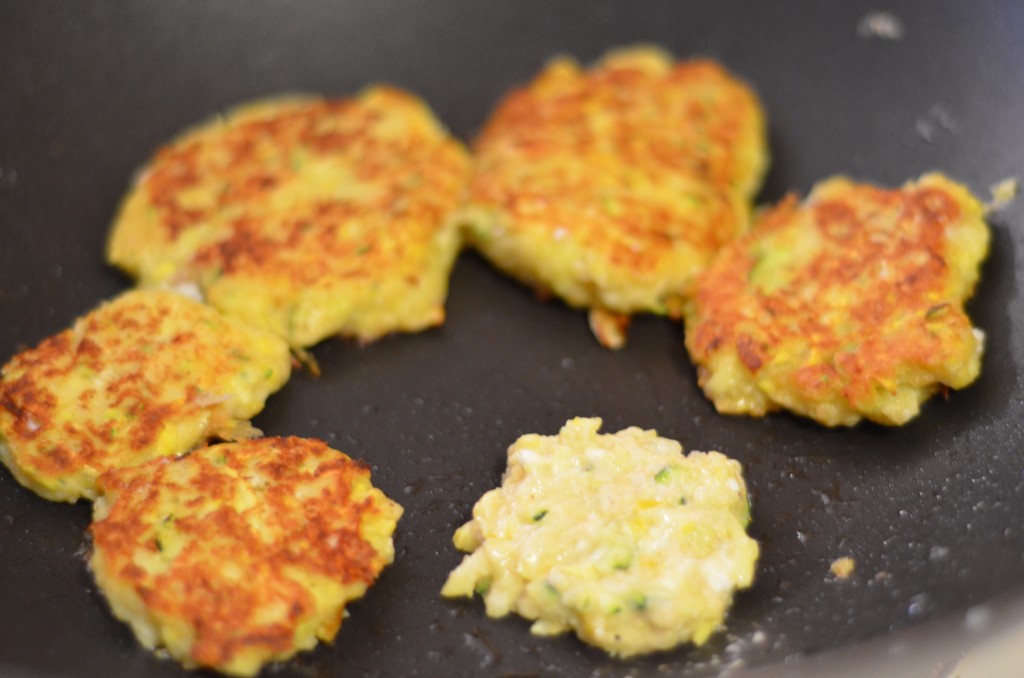
I only used tablespoon of olive oil to cook the entire batch of fritters in my wok. In 2 T amounts, I dropped each one into the pan, spread them out a little and cooked them on medium low (remember I used a wok) till they were golden brown on each side. There were A LOT!

My husband loved them. He ate them with hot sauce.

I loved them too but the jury is still out on my kids.

That’s ok.

More for me!

Super Summer Smoothies

By | Recipes | No Comments

It’s summer and my girls and I have been on the go a lot, swimming and visiting with friends. Hot weather equals lighter fare so we have been drinking smoothies for breakfast or as snacks. Plus, they’re really fast and don’t require heating up the kitchen. Who can argue with that?

I strongly believe that a body which is consistently nourished with good food will crave the food it needs to survive its current environment. At least this seems true with myself and my kids. Of course, the opposite occurs when I consistently barrage my palate with lots of sugar and nutrient deficient food, because those things have an addictive quality. That said, we crave water-laden fruit in the summer, definitely needed in the Arizona heat. So, in summer, our smoothies are fruit based but I usually manage to sneak a few veggies in as well.

These aren’t exact measurements because, well, I don’t use them myself. I am more into percentages that I increase or decrease based on how many people I’m serving. Here are my basic guidelines for fruity smoothies.

1. Only add enough liquid like yogurt, nut milk or coconut milk to get the blender moving. The flavors will be stronger and the smoothie will have a richer texture. If, like my husband, you enjoy more liquid-y smoothies, use more liquid.
2. Buy organic fruit frozen*. It’s more cost effective than fresh and creates an ice-cream quality in your smoothie.
3. Add a banana unless you need to avoid them for some reason. They add creaminess and they are full of nutrients.
4. Try skipping the sweetener. Fruit, especially bananas, are rich in natural sugars. If you must sweeten more, try raw honey or raw agave syrup. Just a splash.
5. Blend till everything is really smooth. Nothing like a chunk of something to ruin a good smoothie. We’re lucky enough to have a retro Vitamix (the stainless steel one) we received as a gift. And we love it.

Here are a few of our regular smoothies. I’ll post others as we create them.

Basic Fruit Smoothie
yogurt (almond milk or coconut milk)
banana
frozen fruit like strawberries or raspberries
1 apple, sliced and quartered
1/4 cup of chopped red cabbage (you won’t even taste it, I promise!)
splash of vanilla
*Variation – instead of chopped red cabbage, add 1 cup or so of fresh spinach to your smoothie. You can use more because it has a mild flavor and won’t change the overall taste of your smoothie.
Pina Colada Smoothie
Coconut milk (you can use light or full fat)
Banana
Frozen pineapple
1/4 cup of shredded carrot
Chocolate Smoothie
Almond milk
Banana
2-3 T. Almond butter (you can use a handful of almonds but I’d only recommend it if you have a good blender or it’ll be crunchy – and not in a good way)
1 T. raw cacoa nib powder or more if you like super chocolate (rich in antioxidants & flavonoids. Available & reasonably priced at Mountain Rose Herbs)
a few chunks of ice
This one is more of a treat, since it tastes like ice cream 
Contains caffeine so use with caution if serving to children, just like you would anything containing chocolate. Otherwise, you may be looking at a very late bedtime!
*Organic Mama Money Saving Tip $$$
If you run across a great sale or a friend needs to unload a bunch of fruit from their trees that you just can’t eat in time, try freezing it. Just wash, slice, freeze on a cookie sheet and then bag. Otherwise, you’ll end up with a huge bag of frozen mush. Still usable for baking but difficult to use for smoothies.

Best Brownies Ever, A Respectful Variation on the Malgieri Brownie

By | Recipes | One Comment

Last week was my husband’s 35th birthday and instead of a cake, he requested a chocolate brownie sundae that oozed chocolate. I had a sneaking suspicion he might be supporting my recent need to indulge in chocolate-y goodness every few days as exhibited by the fact that the only recipes I’ve posted lately have been chocolate. But I resolutely pushed aside my conspiracy theorist tendencies and got to work. A brownie sundae begins with the perfect brownie and I intended to find it.

But first – I have a confession to make. Please, don’t judge me too harshly.

I have never been a big brownie fan. They have never done it for me. While I love dark chocolate, I prefer it in creamy desserts like mousse or a chocolate creme brulee. So, I knew the brownie would have to be the perfect texture and flavor to tempt me. And, I figured if I could find a recipe to tempt a non-brownie lover like me, my intended audience would be happy too.

I started with a brownie from the Smitten Kitchen, one of my favorite sites. See it here. I liked the description of the recipe she posted because it was so easy, used only cocoa powder and didn’t require my tempering any chocolate. But, when I tasted the finished product, the cocoa powder bitterness stood out to me. I didn’t do the brownie any flavors by leaving it in the oven just a minute or two too long (classic brownie error!). It was still chewy fudge-y but I could tell I’d overdone it. It was not a bad brownie by any means – just not the one I was looking for. By the way, if you haven’t visited the Smitten Kitchen yet, you should. She’s a really funny writer, the pictures are great and the food is phenomenal. You’ll love me for it!

Next, I tried the Best Brownie EVA recipe over at the feeding time blog. And, in classic “Monna” style, I altered it by adding just a little cocoa powder since I wanted it to be SUPER chocolate-y. And, it was. But, the cocoa powder definitely gave the brownies a bitter flavor. More importantly, when those brownies came out, I realized the real problem.

I thought I wanted a fudge-y brownie. But, both those fudge brownie recipes seemed heavy, flat muddled. I wanted a taller, chewier brownie with a with a crispy top that would showcase the flavor of chocolate and finish with chocolate chunks melting into my mouth. I’m serious about chocolate.

Know how they say third time’s the charm? Well, it was. In my insane perusal of hundreds of brownie recipes to find the perfect one (maybe that’s an exaggeration but barely. I spent way too many hours on this project!), I stumbled across several forums frequented by people much closer to “nuts” about brownies than me. We’re talking some seriously passionate, brownie-pated individuals! Several of them referred to a recipe for Supernatural Brownies by a guy named Nick Malgieri as the ultimate brownie. I had to find it.

Sure enough, I discovered the recipe in another of my favorite places. The website for the American Public Media radio show called The Splendid Table, hosted by Lynne Rosetto Kasper had the recipe posted here.

By now I’d learned a few things about brownies, so I tweaked it just a leeeee-tle. I just can’t help myself. I have a chronic tendency to change recipes.

And, this one nailed it. I can’t tell you what your taste in brownies should be. But, if you want the best brownie you’ve ever tasted, try this one. Despite the fact that it requires tempering, it’s pretty darn easy. By the way, no cocoa powder. 

Notes: The pan you use in a brownie recipe makes a big difference. I used a metal Nordicware quarter sheet. That’s smaller than Mr. Malgieri’s recipe calls for but the smaller size lets the brownie puff up to the height I wanted while still allowing it to remain chewy. If you use a bigger pan, shorten your cooking time. If you use glass, lower the temp 25 degrees to prevent burnt and squishy brownies. Yuck.
For the record, I’ve been having problems with my oven, thus the wide variance in baking times. But, I’d rather have a slightly underdone brownie than an overcooked one.
Finally, for those of you who would argue this is NOT a brownie with baking powder in it, I have only to say – I don’t care. It tastes DELICIOUS!

Best Brownies Ever, A Respectful Variation on the Malgieri Brownie
Ingredients
16 tablespoons butter (I used salted and decreased the salt in the recipe)
10.5 oz bittersweet chocolate pieces (I used TJ’s 85% bars. Reasonably priced with a smooth flavor)
1/2 cup granulated sugar
1 1/2 cup firmly packed dark brown sugar
4 large eggs
1/4 teaspoon salt
2 teaspoons vanilla extract
1 cup all-purpose flour with 3/4 t. baking powder carefully stirred in (nothing worse than a bite of leavening)
1 1/2 c. semi-sweet chocolate chips
Instructions
Quarter sheet (12x9x1) baking pan with parchment paper and let a little hang over the sides
1. Preheat oven to 350F and set oven rack in the middle
2. Bring a saucepan of water to boil and turn down to med-low. Set a heat proof bowl over the pan and combine butter and chocolate until melted. Whisk thoroughly.
3. Remove the chocolate mixture from heat and add sugar. Whisk until sugar is nearly dissolved. 
4. Let mixture cool to just warm (as in, not enough to cook eggs!) and add eggs one at a time and whisk. .
5. Add salt and vanilla and whisk. 
6. Add flour and baking powder to chocolate mixture and whisk until the batter takes on a sheen, about 1 minute. 
7. Add chocolate chips and stir in briefly.
8. Pour into prepared pan and spread evenly. 
9. Bake between 25-40 minutes. I started checking around 20 minutes. Having over-cooked a batch already, I didn’t want to ruin this one. You really must do the toothpick test on a brownie. When it’s done, it should have just a few damp-ish crumbs on the toothpick and spring back when you touch it with your finger. If your toothpick comes out dry, it’s over-baked. Don’t worry. Just eat that batch with ice cream and try again.
Devil’s Food Cake with Chocolate-Orange Buttercream – oh yeah.

By | Recipes | No Comments

In light of yesterday’s very serious post, I decided today should be more lighthearted and chocolate-filled. Hehe. We all need a little chocolate! As I said in my “Death by Superbowl” post, chocolate is great therapy when you’re feeling stressed (so is sex – but I digress…)

For Valentine’s Day, I wanted to make something divinely chocolate. Chocolate may be the food of the gods but I was looking for something that would make me feel a bit on the wicked side! Also, I wanted something homemade because I’d been to a few too many events recently that sported corn syrup and stabilizer filled desserts. So, I pulled out a recipe I’d used from Epicurious.com years ago and had only made once because of the time and ingredients involved.  The cake was so memorable family members will sometimes say, “Remember when you baked that chocolate cake?” Then, their eyes get misty and they start drooling as they drift away with the memory.

Well, maybe that’s a little dramatic. But, my family does remember the cake and they speak of it fondly. It’s a recipe that takes time – melting chocolate over a double boiler and doing everything from scratch. Although my mom was not above using boxed cakes, she taught us to bake from scratch when we were young. I’ve found it doesn’t really take that much more time (usually) and it definitely tastes better.

The only time this didn’t turn out to be true was when, as a pre-teen, I increased the baking soda in a Texas Sheet Cake from 1 t. to 1 T. You can imagine what a dreadful disaster this turned out to be – especially when I didn’t discover it till the party and couldn’t convince the guests to stop eating it. They all gulped it down with pained expressions while assuring me it was delicious (as though I couldn’t taste it). AAHH!! The mortification!

This cake does take a bit more time than other homemade cakes – maybe because it uses melted chocolate, cocoa nib powder, yogurt & milk & orange zest (you get the picture), but the combination of the ingredients creates a moist, decadent, incredible cake worthy of being called the Devil’s Food. I didn’t use the lavender because it just didn’t sing to me at the time and I didn’t miss it.

So, the Saturday before Valentine’s Day, I left my girls with Rob and borrowed my mother-in-law’s kitchen. My oven has been running hot.

First, I melted the chocolate…

The recipe requires semi-sweet chocolate (I used Valrhona at least 70%+) melted over a double boiler. Mmmm….
Next, I creamed brown sugar with butter, eggs and vanilla – this is my favorite part!
In goes the cooled, melted chocolate. I think I would rather eat the batter than the cake. Well, maybe.  Or, both…
The first set of cake pans – I doubled the recipe for a really tall cake.
The frosting begins with orange zest. Yes, I used organic – no pesticide cake for us!
And, of course, more melted chocolate and a tad bit of Grand Marnier. I could eat it with a spoon!! (wait, I DID eat it with a spoon!)
And, here you can see my GIANT beautiful cake – and my big mistake! I didn’t sift the powdered sugar and it was a little lumpy. No amount of mixing fixed it. But the lumps dissolved and no one complained.

Also – for those of you who know me and my aversion to eating too much sugar or giving it to my girls… We don’t eat stuff like this often, but when we do, I don’t try to recreate the wheel. To me, a cake is supposed to be an occasional, luxurious treat. So, this is a REAL cake made with real sugar, butter, flour etc. I would rather my girls eat this over fake corn syrup filled, shortening covered cake any day. It was incredible – and we ended up giving a lot of it away. After all, what girl really needs a four layer chocolate cake on her counter all week? If I ate it all day for a week, I couldn’t get rid of it!

The original Epicurious recipe is here – but I’ll warn you. I doubled the cake recipe and NOT the frosting but there was still enough frosting for the whole thing. So, if you’re planning to make just a single recipe, you will have leftover frosting. It’s good on graham crackers – or on a spoon if you’re desperate to make it go away!

Great, I may have to break my own rules and make it again. Anyone want to help eat it?